You can create your own filters (custom filters) and use them in the Search Results Widget or Filters on collections. A custom filter is based on a standard filter, but it contains specific filter values, unlike a standard one. It can be especially helpful for filters based on tags.
To create a custom filter, follow these steps:
Step 1. Create a custom filter
- Go to Smart Search Bar & Filters control panel > Filters > Filter list section > General tab.
- Click the + button in the top-right corner.
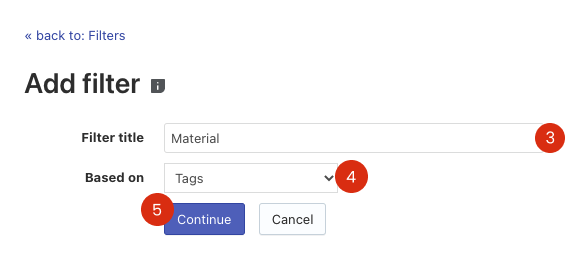
- Enter Filter title – it will be displayed on the storefront.
- Select the standard filter in the Based on drop-down list.
- Click the Continue button.
As a result, the custom filter will be created without values.
Step 2. Add values for the created filter
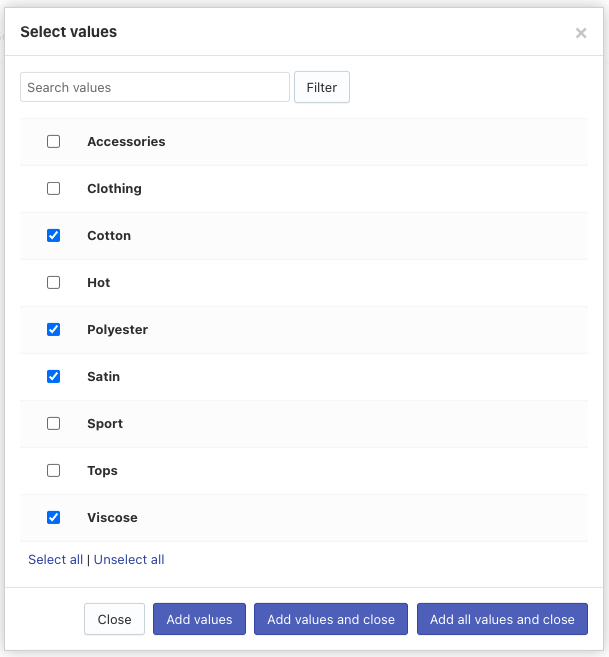
- Click the + button.
- Select filter values. You can use the filter in the top-right corner to search the values.
 Note
NoteThese values won’t be excluded from standard filters.
- Add the selected values to the filter.
- Optionally, manage the added values: delete values or change their Display name and save the changes.
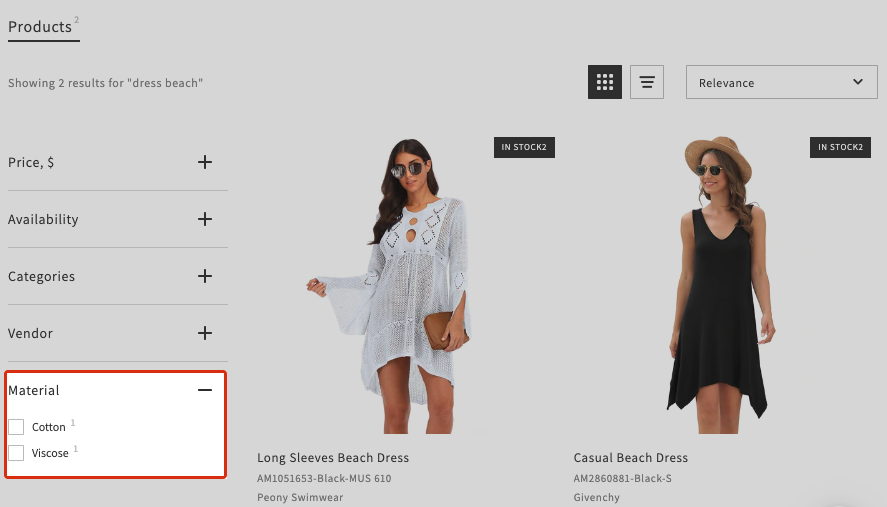
That’s it. The new custom filter is now displayed on the storefront.